Managing multiple projects with Components
This feature is still in development and might change in patch releases. It’s not production-ready, and the documentation may also evolve. Stay tuned for updates.
You can use a workspace directory to manage multiple projects within a single coherent directory structure.
A workspace directory contains a root pyproject.toml containing workspace-level settings and a projects directory containing one or more projects. A workspace does not define a Python environment by default. Instead, Python environments are defined per project.
Scaffold a new workspace
To scaffold a new workspace with an initial project called project-1, run:
dg init
Enter the name of your Dagster workspace [dagster-workspace]:
Scaffolded files for Dagster workspace at /.../dagster-workspace.
Enter the name of your first Dagster project (or press Enter to continue without creating a project): project-1
Creating a Dagster project at /.../dagster-workspace/projects/project-1.
Scaffolded files for Dagster project at /.../dagster-workspace/projects/project-1.
...
This will create a new directory called workspace, as well a new directory project-1 within the projects folder. It will also setup a new uv-managed Python environment for the project. Let's look at the structure:
cd dagster-workspace && tree
.
├── libraries
├── projects
│   └── project-1
│       ├── project_1
│       │   ├── __init__.py
│       │   ├── components
│       │   ├── definitions.py
│       │   └── lib
│       │       └── __init__.py
│       ├── project_1_tests
│       │   └── __init__.py
│       ├── pyproject.toml
│       └── uv.lock
└── pyproject.toml

...
Importantly, the pyproject.toml file for the workspace folder contains an is_workspace setting marking this directory as a workspace:
[tool.dg]
is_workspace = true
project-1 also contains a virtual environment directory .venv that is not shown above. This environment is managed by uv and its contents are specified in the uv.lock file.
The project-1 directory contains a pyproject.toml file that defines
it as a Dagster project:
...
[tool.dagster]
module_name = "project_1.definitions"
code_location_name = "project-1"

[tool.dg]
is_project = true
is_component_lib = true
...
Let's enter this directory and search for registered component types:
cd projects/project-1 && dg list component-type
┏━━━━━━━━━━━━━━━━━━━━━━━━━━━━━━━━━━━━━━━━━━━━━━━━━━━━━━━┳━━━━━━━━━━━━━━━━━━━━━━━━━━━━━━━━┓
┃ Component Type                                        ┃ Summary                        ┃
┡━━━━━━━━━━━━━━━━━━━━━━━━━━━━━━━━━━━━━━━━━━━━━━━━━━━━━━━╇━━━━━━━━━━━━━━━━━━━━━━━━━━━━━━━━┩
│ definitions@dagster_components                        │ Wraps an arbitrary set of      │
│                                                       │ Dagster definitions.           │
│ pipes_subprocess_script_collection@dagster_components │ Assets that wrap Python        │
│                                                       │ scripts executed with          │
│                                                       │ Dagster's                      │
│                                                       │ PipesSubprocessClient.         │
└───────────────────────────────────────────────────────┴────────────────────────────────┘
This is the default set of component types available in every new project. We can add to it by installing dagster-components[sling]:
uv add 'dagster-components[sling]'
Due to a bug in sling package metadata, if you are on a macOS machine with Apple Silicon you may also need to run uv add sling_mac_arm64.
And now we have a new available component:
dg list component-type
Using /.../dagster-workspace/projects/project-1/.venv/bin/dagster-components
┏━━━━━━━━━━━━━━━━━━━━━━━━━━━━━━━━━━━━━━━━━━━━━━━━━━━━━━━┳━━━━━━━━━━━━━━━━━━━━━━━━━━━━━━━━┓
┃ Component Type                                        ┃ Summary                        ┃
┡━━━━━━━━━━━━━━━━━━━━━━━━━━━━━━━━━━━━━━━━━━━━━━━━━━━━━━━╇━━━━━━━━━━━━━━━━━━━━━━━━━━━━━━━━┩
│ definitions@dagster_components                        │ Wraps an arbitrary set of      │
│                                                       │ Dagster definitions.           │
│ pipes_subprocess_script_collection@dagster_components │ Assets that wrap Python        │
│                                                       │ scripts executed with          │
│                                                       │ Dagster's                      │
│                                                       │ PipesSubprocessClient.         │
│ sling_replication_collection@dagster_components       │ Expose one or more Sling       │
│                                                       │ replications to Dagster as     │
│                                                       │ assets.                        │
└───────────────────────────────────────────────────────┴────────────────────────────────┘
Add a second project to the workspace
As stated above, environments are scoped per project. dg commands will only use the environment of project-1 when we are inside the project-1 directory.
Let's create another project to demonstrate this:
cd ../.. && dg scaffold project project-2
Creating a Dagster project at /.../dagster-workspace/projects/project-2.
Scaffolded files for Dagster project at /.../dagster-workspace/projects/project-2.
...
Now we have two projects. We can list them with:
dg list project
project-1
project-2
And finally, let's check the available component types in project-2:
cd projects/project-2 && dg list component-type
┏━━━━━━━━━━━━━━━━━━━━━━━━━━━━━━━━━━━━━━━━━━━━━━━━━━━━━━━┳━━━━━━━━━━━━━━━━━━━━━━━━━━━━━━━━┓
┃ Component Type                                        ┃ Summary                        ┃
┡━━━━━━━━━━━━━━━━━━━━━━━━━━━━━━━━━━━━━━━━━━━━━━━━━━━━━━━╇━━━━━━━━━━━━━━━━━━━━━━━━━━━━━━━━┩
│ definitions@dagster_components                        │ Wraps an arbitrary set of      │
│                                                       │ Dagster definitions.           │
│ pipes_subprocess_script_collection@dagster_components │ Assets that wrap Python        │
│                                                       │ scripts executed with          │
│                                                       │ Dagster's                      │
│                                                       │ PipesSubprocessClient.         │
└───────────────────────────────────────────────────────┴────────────────────────────────┘
As you can see, we are back to only the default list of component types. This is because we are now using the environment of project-2, in which we have not installed dagster-components[sling].
Load workspace with dg
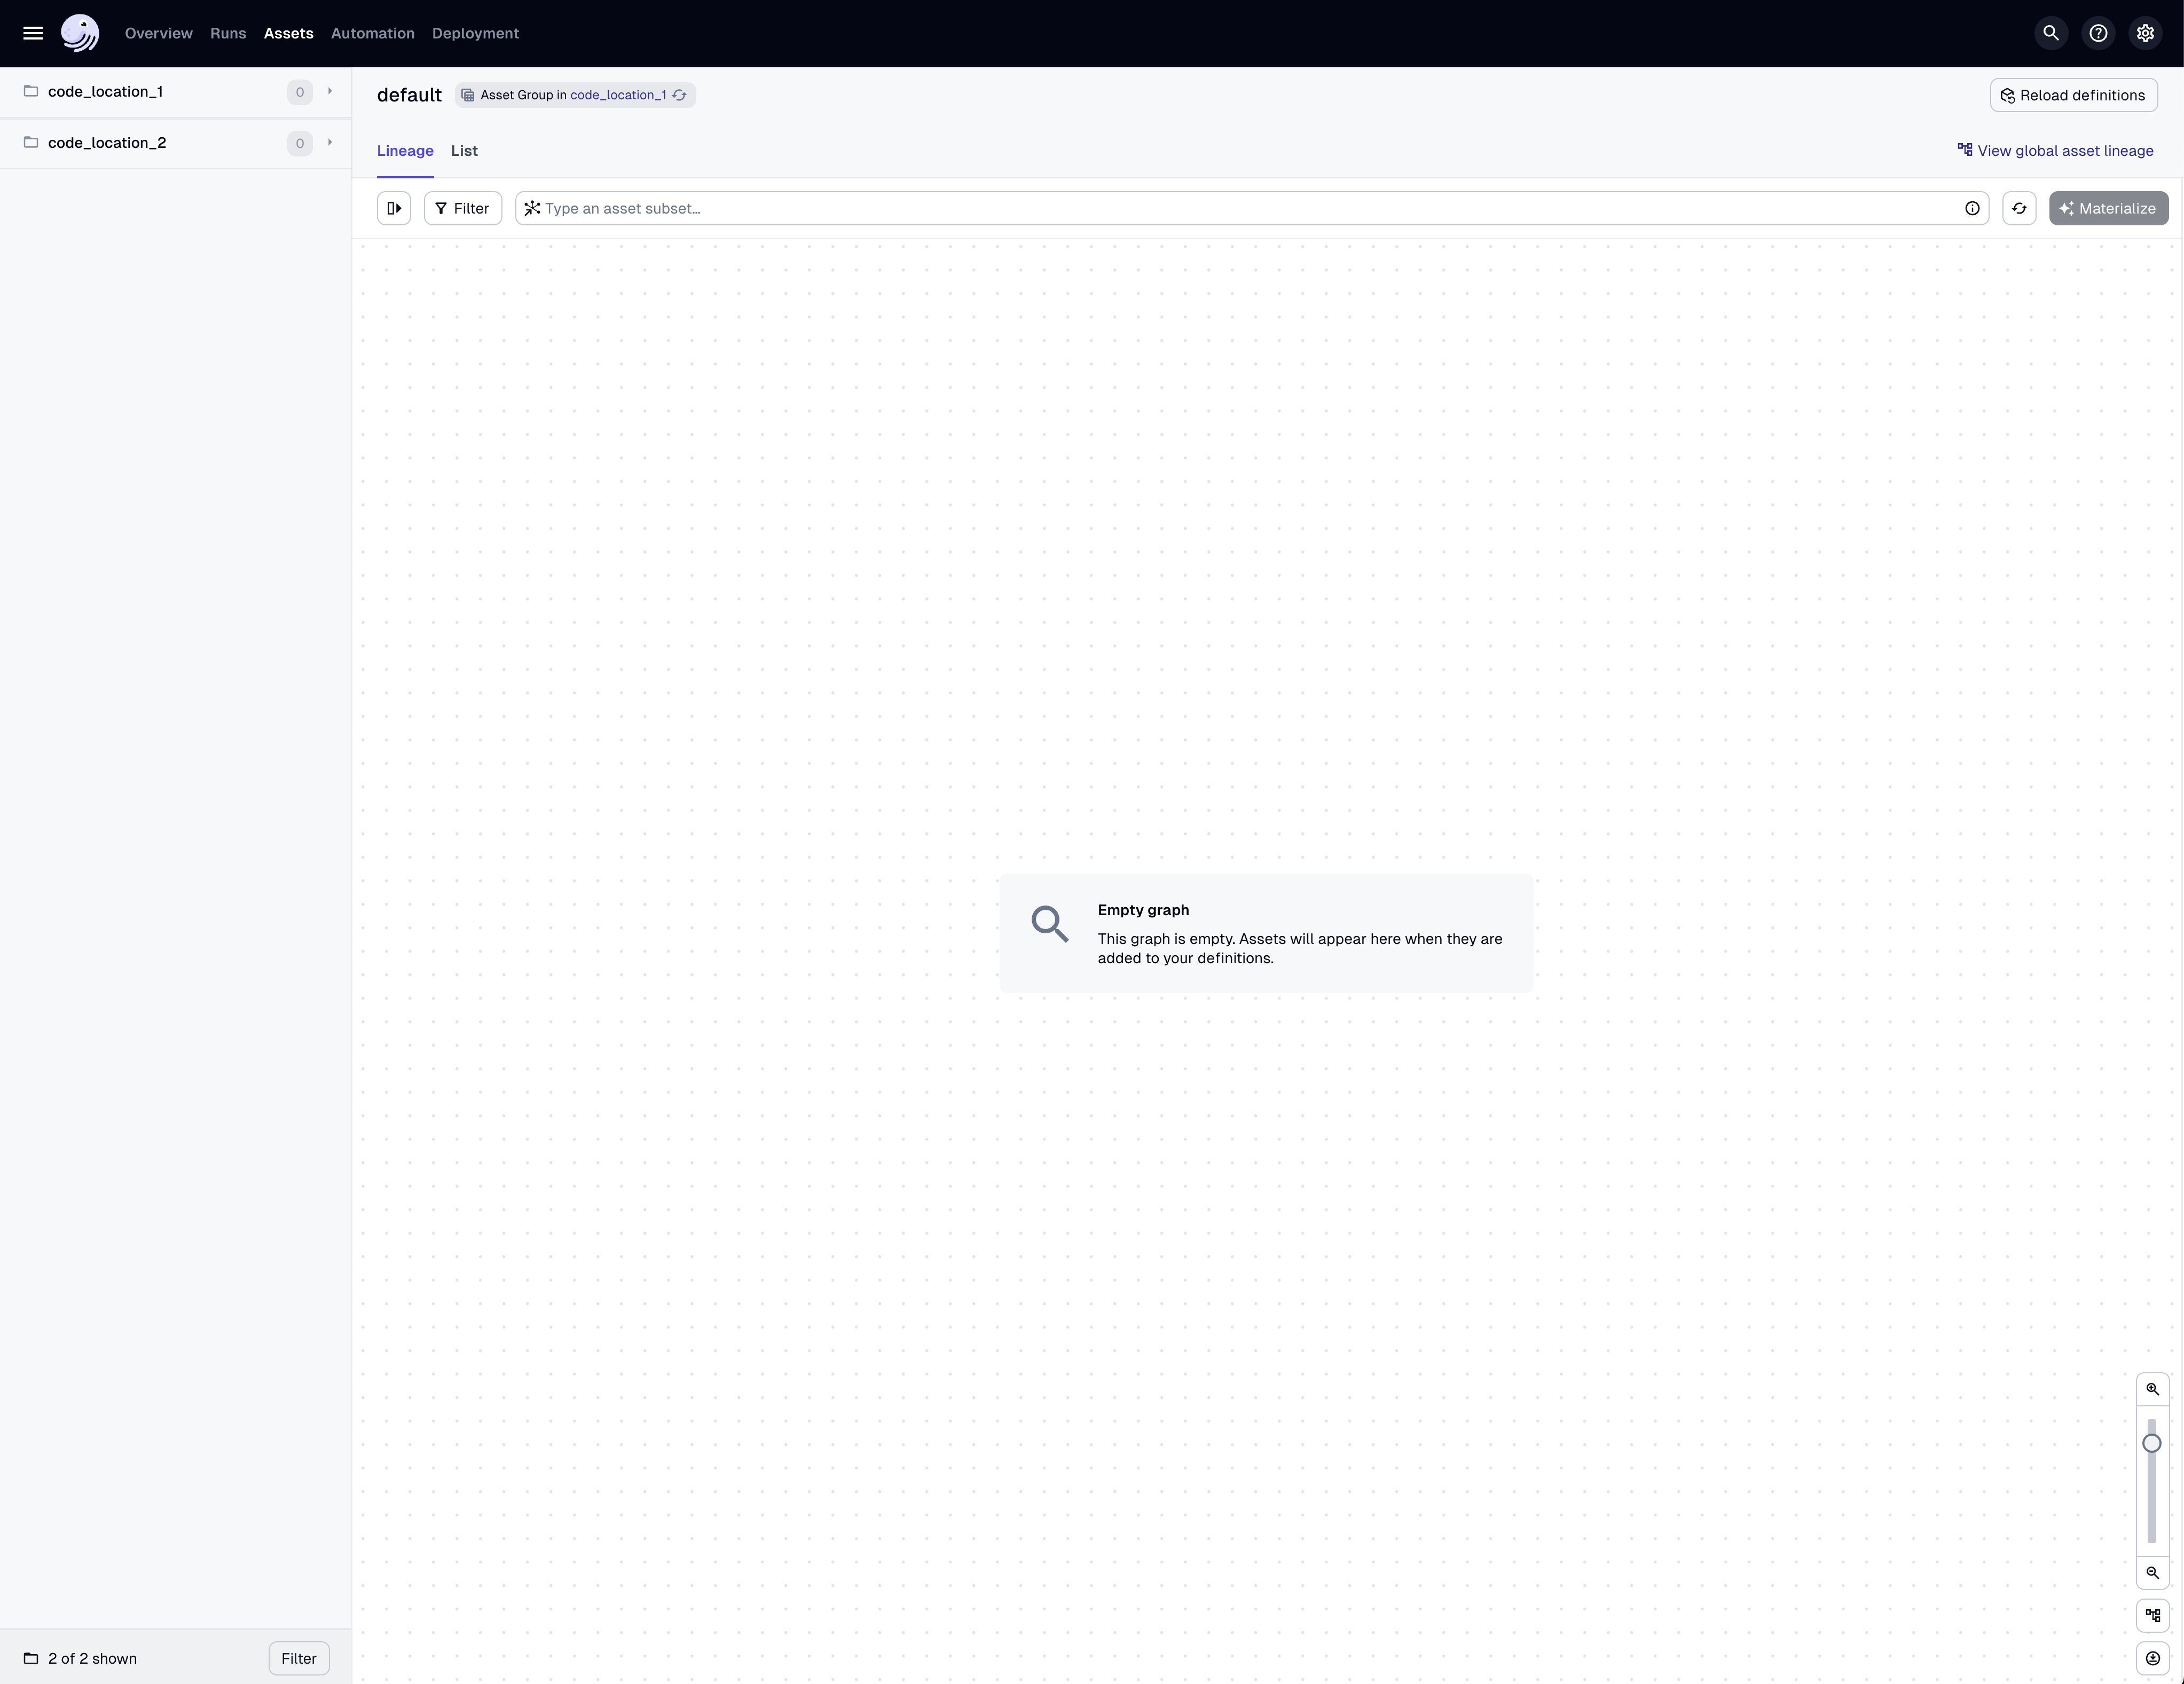
For a final step, let's load up our two projects with dg dev. dg dev will automatically recognize the projects in your workspace and launch them in their respective environments. Let's run dg dev back in the
workspace root directory and load up the Dagster UI in your browser:
cd ../.. && dg dev